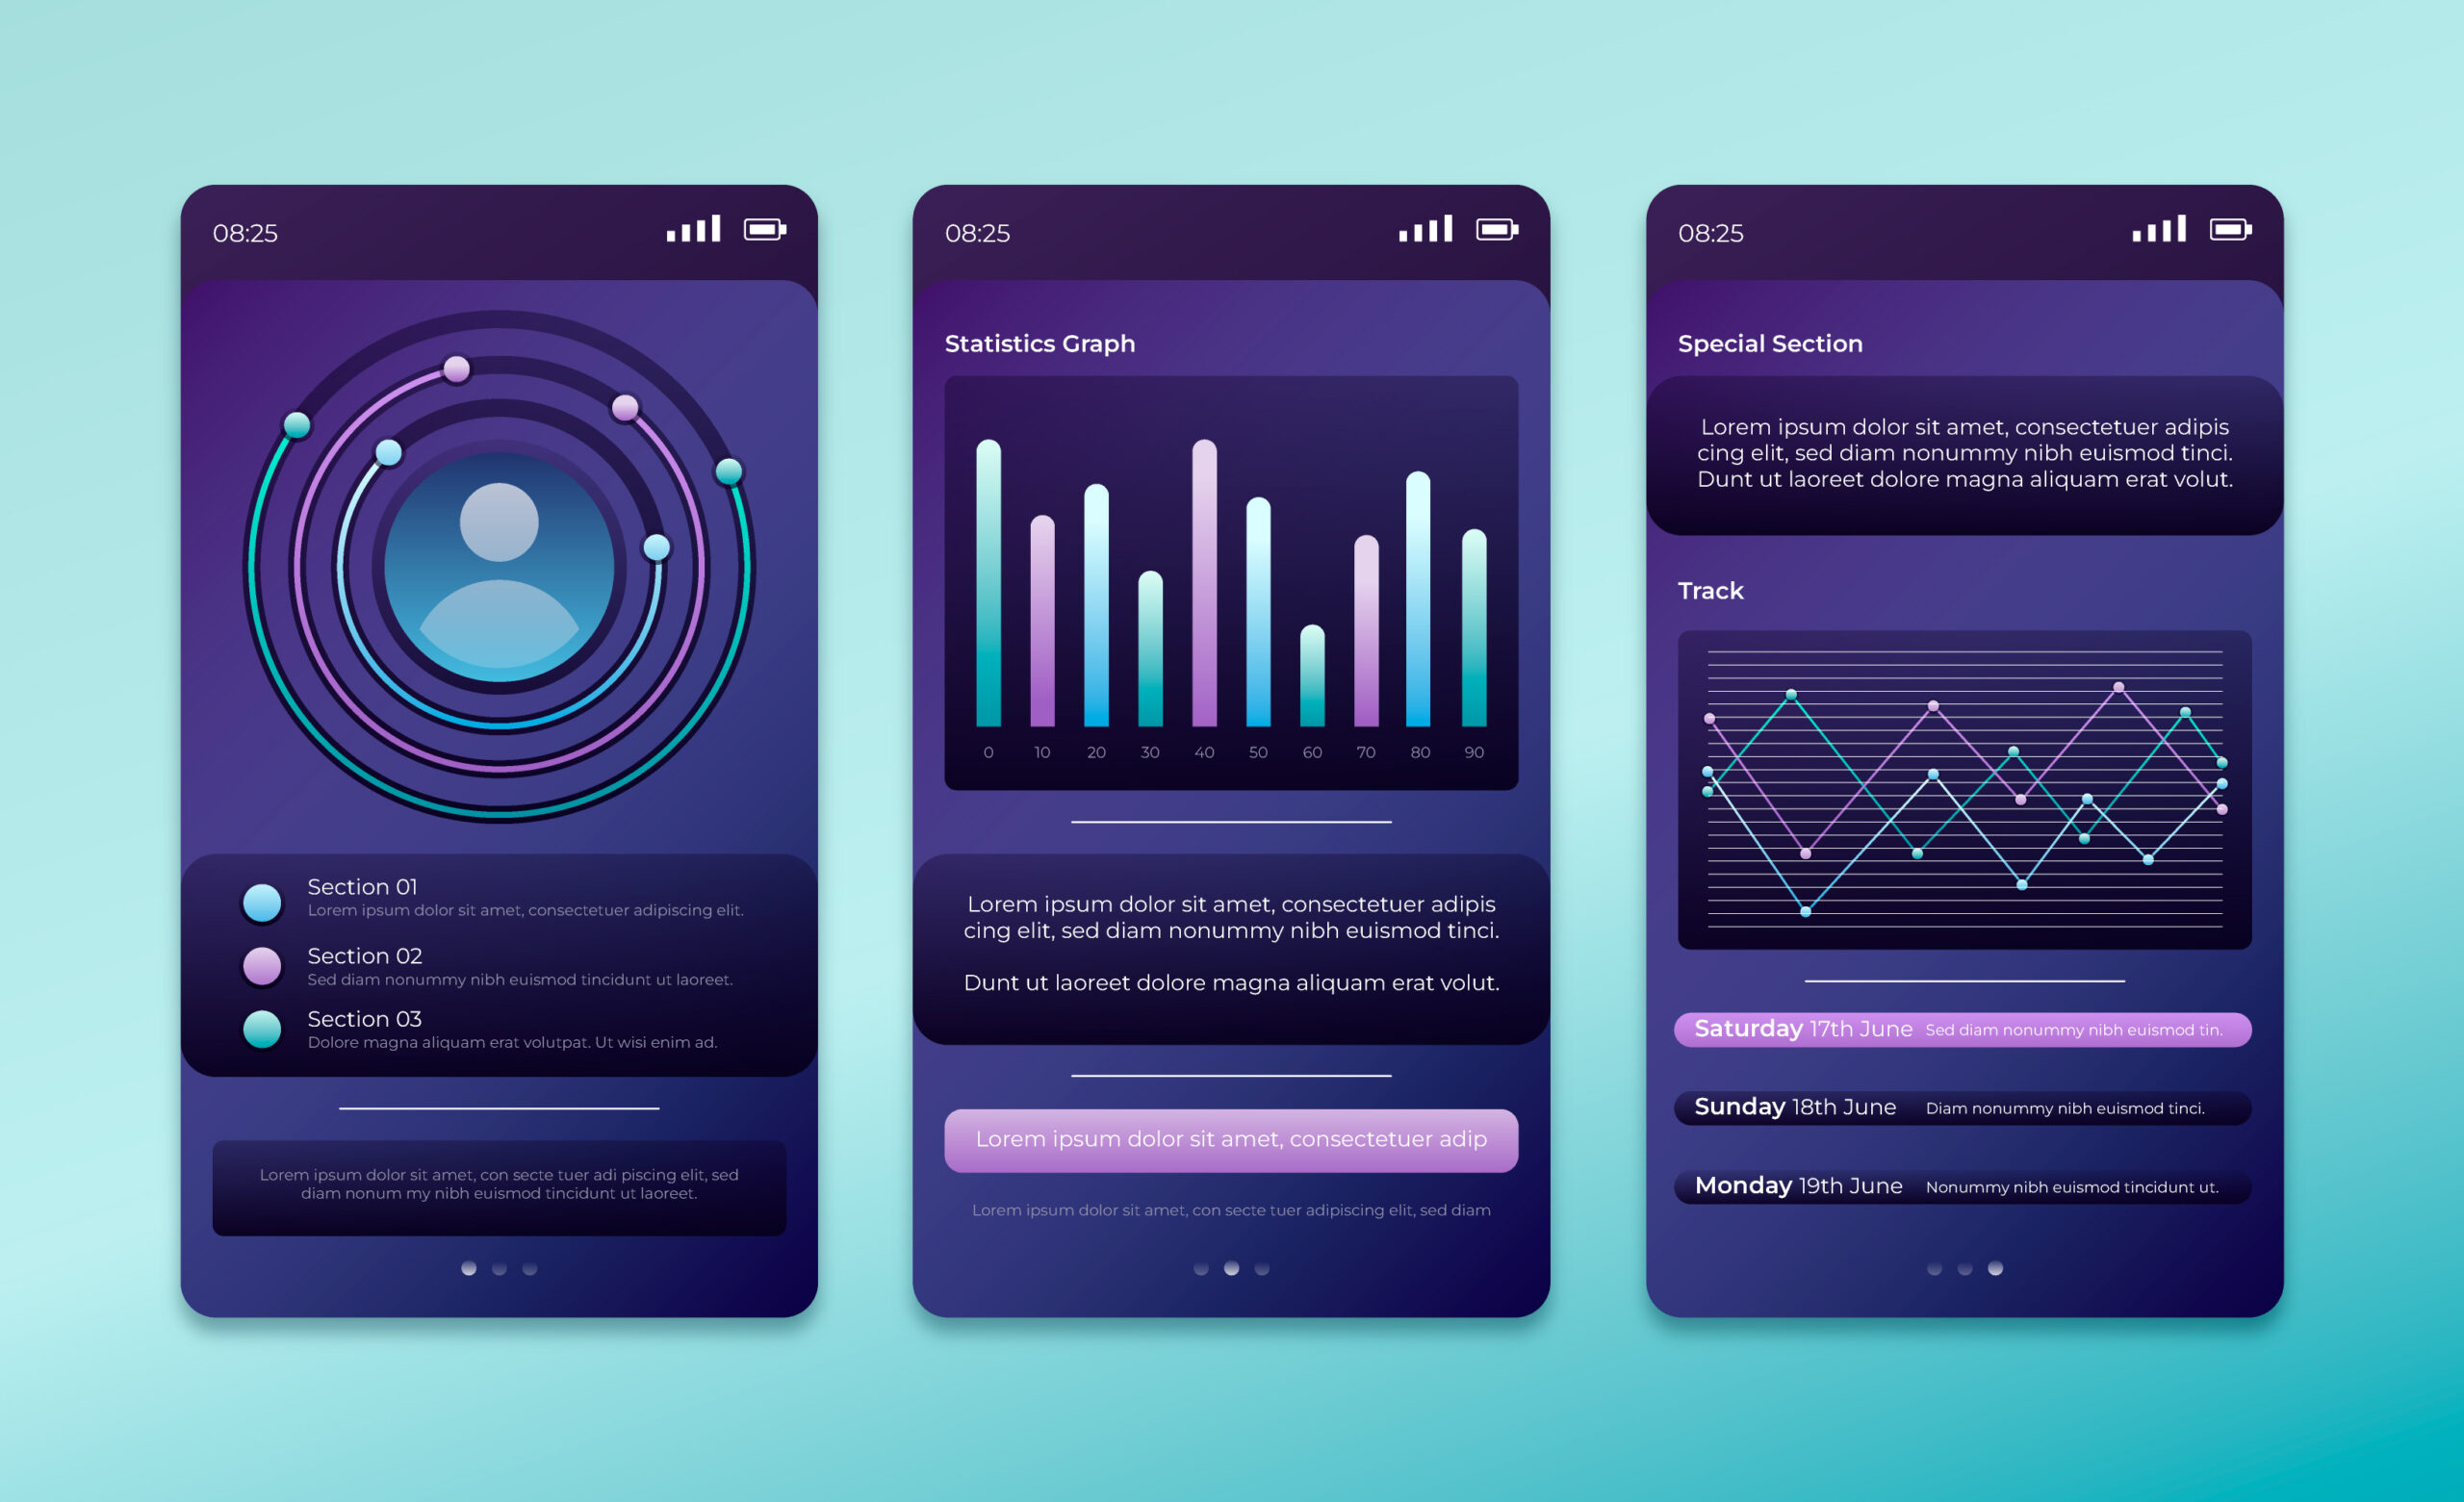
In the evolving world of digital product design, efficiency and consistency are essential. Stock UI kits and design systems have become indispensable tools for designers, developers, and businesses aiming to create cohesive user experiences بسرعة and at scale. However, understanding the licensing behind these assets is just as important as using them effectively.
What Are Stock UI Kits and Design Systems?
Stock UI kits are pre-designed collections of user interface elements such as buttons, forms, navigation menus, and icons. Design systems go a step further by providing a structured framework that includes design rules, components, and guidelines for building consistent digital products.
These resources are often available on platforms like Envato and Creative Market, where designers can purchase or download ready-to-use kits. They are commonly used for websites, mobile apps, and software interfaces, helping teams accelerate development while maintaining visual consistency.
Importance of Licensing in UI Kits
Licensing defines how you can use a UI kit or design system. Most stock UI kits come with commercial licenses, allowing use in client projects, applications, and digital products. However, not all licenses are the same, and misunderstanding them can lead to legal risks.
For example, some licenses allow unlimited use across multiple projects, while others restrict usage to a single end product. In many cases, redistribution of the UI kit itself—whether free or paid—is prohibited. This means you can use the components in your designs, but you cannot resell or share the original files.
Common Types of Licenses
There are several licensing models commonly associated with stock UI kits. A standard license typically allows use in one project, making it suitable for freelancers or single-use cases. Extended licenses often provide broader usage rights, including multiple projects or commercial applications.
Subscription-based platforms may offer access to a wide range of assets under a unified license. These are particularly beneficial for agencies that require continuous access to updated design resources.
It is also important to note that UI kits may include additional assets such as icons, illustrations, or even stock footage for app previews and marketing materials. Each component may have its own licensing terms, so reviewing the full agreement is essential.
Key Considerations Before Using UI Kits
Before integrating a stock UI kit into your workflow, verify compatibility with your design tools, such as Figma or Adobe XD. This ensures a smooth editing process and avoids technical issues.
Customization flexibility is another important factor. A good UI kit should allow you to modify components بسهولة to align with your brand identity. Relying too heavily on default styles can result in generic designs that lack uniqueness.
Additionally, consider scalability. If your project is expected to grow, choose a design system that can evolve with your needs, offering reusable components and clear guidelines.
Best Practices for Compliance and Creativity
To stay compliant, always keep a copy of the license agreement and document where and how the UI kit is used. This is particularly important for agencies handling multiple clients.
From a creative standpoint, avoid using UI kits exactly as they are. Instead, adapt layouts, adjust color schemes, and refine typography to create a distinctive user experience. This approach not only strengthens branding but also ensures your product stands out in a competitive market.
Conclusion
Stock UI kits and design systems are powerful resources that streamline the design process and enhance consistency across digital products. However, their true value lies in responsible and informed usage. By understanding licensing terms, selecting the right assets, and applying thoughtful customization, designers and businesses can maximize efficiency while maintaining originality and legal compliance.
I’ve always found that pictures tell stories far beyond what meets the eye. When I look at an image I’m not just seeing colors and shapes – I’m discovering hidden meanings deeper narratives and making connections that aren’t immediately obvious.
As an educator and visual literacy expert I’ve witnessed countless students light up when they learn to make inferences from pictures. It’s like unlocking a secret code that transforms simple images into rich meaningful stories. Whether it’s analyzing a historical photograph interpreting artwork or understanding visual advertisements inference skills help us become better critical thinkers and more engaged observers.
In this article I’ll walk you through some powerful picture examples that demonstrate the art of inference. Together we’ll explore how to read between the lines of visual information and develop stronger analytical skills that you can apply in both academic and real-world settings.
What Is Inference in Reading Pictures
Picture inference involves analyzing visual elements to draw meaningful conclusions beyond what’s immediately visible. I’ve observed how interpreting images requires combining visual evidence with prior knowledge to uncover deeper meanings.
Visual Literacy and Making Connections
Visual literacy transforms basic picture viewing into active meaning-making through strategic analysis. I notice successful inference happens when readers:
Connect personal experiences to visual elements
Link cultural symbols to broader contexts
Identify relationships between multiple image components
Apply background knowledge to interpret visual clues
Recognize patterns across similar types of images
For example, in inference picture examples, a photo of an empty playground with scattered toys suggests children were recently present without directly showing them.
How Inference Differs from Observations
Observation captures the literal elements while inference reveals the underlying story. Here’s how they differ:
Observation
Inference
Records visible details
Draws conclusions
Notes colors shapes sizes
Interprets meaning
Lists physical elements
Suggests relationships
Describes what is seen
Explains significance
Documents current state
Predicts implications
I regularly demonstrate this distinction using inference picture examples where students first list what they physically see then progress to interpreting the image’s deeper significance based on those visual clues.
Key Elements for Making Picture Inferences
Picture inference analysis relies on specific key elements that guide viewers toward meaningful interpretations. I’ve identified essential components that create robust inference opportunities in visual materials.
Visual Clues and Context
In my experience analyzing inference picture examples, visual clues create the foundation for interpretation. Environmental details like weather conditions, time of day, location markers or seasonal indicators provide crucial contextual information. I examine specific elements such as:
Scattered objects revealing recent activities
Background details indicating setting location
Lighting conditions suggesting time or mood
Environmental markers showing weather or season
Cultural artifacts depicting specific time periods
Character Emotions and Body Language
Character expressions communicate underlying narratives through non-verbal signals. I focus on these physical indicators:
Facial expressions showing emotional states
Body postures revealing comfort or tension
Hand gestures indicating intention or mood
Physical spacing between subjects suggesting relationships
Eye contact patterns demonstrating connection or avoidance
Body Language Element
What It Reveals
Crossed Arms
Defensive or closed off
Open Palms
Welcoming or honest
Leaning Forward
Interest or engagement
Pursed Lips
Disapproval or skepticism
Mirrored Positions
Connection or rapport
Popular Types of Inference Picture Examples
I’ve identified three distinct categories of inference pictures that consistently engage viewers and promote critical thinking. Each type offers unique opportunities for developing analytical skills through visual interpretation.
Sequence and Story Pictures
Sequential inference pictures present a series of related images that tell a story through visual progression. I regularly use 4-panel comic strips without dialogue boxes which require viewers to infer the narrative connections between scenes. For example, a sequence showing a child with a piggy bank, followed by a toy store window, an empty piggy bank, and finally the child playing with a new toy encourages observers to construct the story of saving and purchasing.
Problem-Solution Scenarios
Problem-solution inference pictures display situations that prompt viewers to identify challenges and deduce potential resolutions. I’ve collected numerous examples where the first image presents a clear problem – such as a wilting plant or a broken bicycle – while the second image requires inference to understand the implemented solution. These pictures strengthen analytical thinking by encouraging viewers to recognize both explicit problems and implicit solutions.
Cause and Effect Images
Cause and effect inference pictures reveal relationships between actions and their consequences. I utilize side-by-side images that demonstrate direct connections – like a picture pairing wet footprints leading to a muddy floor, or fallen dominoes next to an upset cat. These examples help develop predictive reasoning skills by challenging viewers to trace visual evidence backward to determine original causes or forward to anticipate likely effects.
Type
Key Features
Learning Outcome
Sequence
3-4 connected panels
Narrative construction
Problem-Solution
Before/after format
Strategic thinking
Cause-Effect
Paired images
Relationship analysis
Teaching Inference Through Pictures
I structure inference picture activities to develop critical thinking skills through visual analysis exercises. These guided practices create engaging learning experiences for students at different comprehension levels.
Elementary Level Activities
Elementary students learn inference through sequential picture analysis with structured guidance. I introduce three core activities:
Picture Walk-Throughs: Students examine 4-panel inference picture examples to identify mood changes in characters
Visual Detective Games: Small groups analyze photographs to spot clues about time of day weather conditions location setting
Emotion Cards: Students match facial expressions with situational context cards to understand nonverbal communication
Story Completion Tasks: Learners view partial story sequences then draw or describe the missing scenes
Picture Prediction Charts: Students record observations in one column inferences in another using simple image prompts
Advanced Visual Analysis Techniques
Contextual Analysis Charts
Environmental details evaluation
Cultural symbol identification
Historical period markers
Social interaction patterns
Multi-Layer Interpretation
Primary visual elements
Secondary contextual clues
Symbolic representations
Thematic connections
Critical Response Activities
Comparing multiple perspectives
Analyzing artistic choices
Evaluating composition elements
Developing evidence-based interpretations
Activity Level
Time Required
Group Size
Materials Needed
Elementary
15-20 mins
2-4 students
Picture cards set
Intermediate
25-30 mins
3-5 students
Analysis worksheets
Advanced
35-45 mins
4-6 students
Digital image bank
Best Practices for Using Picture Inference
Picture inference activities require careful planning and structured implementation to maximize learning outcomes. I’ve developed these practices through extensive classroom experience using inference picture examples.
Selecting Age-Appropriate Images
Age-appropriate inference picture examples enhance engagement and comprehension levels. For grades K-2, I select images with clear subjects and minimal distracting elements such as simple nature scenes or familiar daily activities. For grades 3-5, I incorporate more complex images with multiple characters interacting or detailed environmental settings. Middle school students analyze images with subtle visual cues layered meanings such as historical photographs or abstract artistic compositions.
Age Group
Image Complexity
Example Types
K-2
Simple
Single subject nature scenes basic emotions daily routines
3-5
Moderate
Multiple character interactions environmental details sequences
6-8
Complex
Historical photos abstract art social situations
Guiding Questions for Discussion
Observe & Identify
List 3 specific objects visible in the image
Describe the setting details (time location weather)
Note character positions gestures facial expressions
Connect & Interpret
Link visual clues to possible meanings
Identify relationships between image elements
Connect to relevant background knowledge
Evidence-Based Analysis
Point to specific details supporting interpretations
Compare multiple possible inferences
Evaluate which interpretations align with available evidence
Response Development
Articulate reasoning behind conclusions
Build on others’ observations
Consider alternative perspectives
Conclusion
I’ve found that picture inference examples serve as powerful tools for developing critical thinking and analytical skills. They bridge the gap between simple observation and deeper understanding allowing students and educators to explore complex narratives through visual elements.
Through my experience I’ve seen how these carefully selected images and structured activities transform learning into an engaging journey of discovery. The skills developed through picture inference extend far beyond the classroom preparing individuals to interpret visual information in their daily lives.
As we continue to navigate an increasingly visual world these analytical tools become essential for understanding the deeper meanings hidden within images. I’m confident that by mastering picture inference everyone can enhance their ability to read understand and interpret the visual stories that surround us.
In today’s fast-paced world of video production, we’re constantly seeking ways to create compelling content while managing time and budget constraints. Stock footage has emerged as a powerful solution, offering filmmakers and content creators pre-recorded video clips designed for universal use in various projects.
We’ve all encountered stock footage in our daily lives, whether we realize it or not. From establishing shots in TV shows to background elements in commercials, these professionally captured clips enhance productions in countless ways. While some may dismiss stock footage as a last resort, it’s actually a valuable resource that provides access to shots that would be otherwise impossible or cost-prohibitive to capture – from historical moments to aerial views of iconic landmarks around the globe.
Key Takeaways
Stock footage consists of pre-filmed video clips that can be licensed for use in various film projects, helping reduce production costs and time
Common types include establishing shots, B-roll footage, historical archives, natural phenomena, special effects, and lifestyle content available in resolutions from HD to 8K
The main benefits are cost efficiency (avoiding expensive production expenses), time savings, and access to otherwise impossible or cost-prohibitive shots
While stock footage provides many advantages, challenges include maintaining consistent quality with original footage, managing complex licensing requirements, and avoiding overused generic clips
Successful stock footage selection requires careful evaluation of technical specifications (resolution, frame rate, color), contextual relevance, and licensing terms to ensure seamless integration
Stock footage consists of pre-filmed video clips created specifically for licensing and use in various film projects. These clips enhance productions while reducing costs and production time.
Origins and Evolution
Stock footage emerged in the early days of filmmaking as a practical solution for incorporating expensive or hard-to-capture scenes. Film studios maintained libraries of generic shots, establishing views and historical events for use across multiple productions. Today’s digital revolution has transformed stock footage into a vast online marketplace of high-quality 4K video content.
Establishing Shots: Aerial views of cities, landmarks or natural landscapes
B-roll Footage: Supporting scenes that add context or transition between main scenes
Historical Archives: Documented footage of past events, wars or cultural moments
Natural Phenomena: Weather events, wildlife behavior or natural disasters
Special Effects: Light leaks, film grain overlays or visual transitions
Background Plates: Clean footage for visual effects compositing
Time-lapse Sequences: Accelerated footage of slow processes like construction or sunsets
Lifestyle Content: People in everyday situations or business settings
Stock Footage Resolution
Common Uses
Typical Cost Range
HD (1920×1080)
Web Video, TV
$30-150 per clip
4K (3840×2160)
Film, Broadcast
$100-500 per clip
8K (7680×4320)
Premium Productions
$300-1000+ per clip
Key Uses and Applications
Stock footage serves multiple purposes in film production offering versatile solutions for both creative storytelling and technical requirements. The applications range from enhancing narrative depth to solving practical production challenges.
Creative Applications
Creates establishing shots for locations such as cityscapes aerial views iconic landmarks
Adds historical context through archival footage of past events wars social movements
Enhances storytelling with mood-setting shots like sunsets nature scenes urban life
Provides transition sequences between scenes using time-lapse footage weather patterns seasonal changes
Incorporates documentary elements through real-world events cultural celebrations natural phenomena
Fills gaps in production coverage when original filming isn’t feasible due to budget or logistics
Supplements visual effects sequences with background plates green screen elements smoke fire
Reduces production costs for expensive shots like aerial footage underwater scenes wildlife footage
Solves scheduling conflicts by providing alternative footage options for tight deadlines
Enables quick edits revisions by offering readily available replacement shots
Functions as temporary placeholders during rough cuts editing sessions preview screenings
Each application demonstrates how stock footage integration supports both artistic vision and practical filmmaking needs providing a valuable resource for productions of all sizes.
Benefits of Using Stock Footage
Stock footage provides filmmakers with efficient solutions for enhancing video productions through cost-effective resources. Its strategic implementation delivers multiple advantages that streamline the production process.
Cost and Time Efficiency
Stock footage eliminates costly production expenses including equipment rentals, location permits, crew salaries, talent fees. Productions save significant time by avoiding complex logistics, weather delays, travel arrangements. A single stock footage purchase offers immediate access to professional content at a fraction of the original production cost.
Production Element
Original Shoot Cost
Stock Footage Cost
Location Permits
$500-5,000/day
$0
Crew Salaries
$2,000-10,000/day
$0
Equipment Rental
$1,000-5,000/day
$0
Stock Clip
N/A
$50-500
Access to Unique Content
Stock footage provides access to otherwise impossible or cost-prohibitive shots:
Historical events captured in authentic footage
Aerial views of iconic landmarks worldwide
Natural phenomena like storms, volcanoes, wildlife
Special effects sequences including explosions, fires
Time-lapse recordings of cityscapes, construction projects
Global locations without international travel expenses
The footage libraries contain professionally filmed content from diverse settings, allowing productions to incorporate high-quality visuals that enhance storytelling without extensive resource investment.
Limitations and Challenges
Stock footage presents unique challenges in film production despite its numerous advantages. These limitations require careful consideration during the creative process.
Quality and Authenticity
Stock footage quality varies significantly across different sources. Visual inconsistencies emerge when matching stock clips with original footage, including differences in color grading, lighting conditions, camera movements, frame rates or resolution. Generic or overused clips appear in multiple productions, reducing authenticity and uniqueness. Common stock footage clips like time-lapses of city skylines or business meetings create a sense of familiarity that detracts from originality.
Licensing Considerations
Stock footage licensing involves complex legal requirements. Rights management includes:
Usage restrictions based on geographic regions, platforms or time periods
Multiple licensing tiers with varying costs for different distribution channels
Additional fees for extended usage or commercial applications
Potential conflicts with existing licenses when clips appear in competing projects
Required attribution or credit requirements specified by stock footage providers
Restrictions on modification or alteration of original footage
Compliance with model releases for clips featuring identifiable individuals
Limited exclusivity options due to non-exclusive licensing models
Stock footage licensing agreements demand thorough review to prevent legal complications or unexpected costs during production or distribution phases.
How to Choose the Right Stock Footage
Selecting appropriate stock footage involves careful evaluation of multiple factors to ensure seamless integration into film projects. The selection process focuses on both technical specifications and creative elements.
Quality Assessment
High-resolution stock footage maintains visual integrity across different display mediums. Here’s what to evaluate:
Check resolution specifications (HD, 4K, 8K) based on final output requirements
Examine frame rates for smooth motion consistency
Verify color depth compatibility with project settings
Assess lighting conditions match existing footage
Review focus sharpness throughout the entire clip
Monitor stabilization levels in camera movements
Contextual Relevance
Stock footage elements integrate seamlessly when they align with the project’s visual narrative. Key considerations include:
Match visual style with existing project footage
Select clips sharing similar color grading characteristics
Verify weather conditions align with story context
Consider cultural accuracy for location-specific shots
Resolution Type
Recommended Use
Quality Level
HD (1920×1080)
Online content
Standard
4K (3840×2160)
Cinema/TV
Professional
8K (7680×4320)
Large format
Premium
Distribution platform requirements
Budget constraints
Project timeline flexibility
Technical compatibility
License agreement terms
Usage rights limitations
Conclusion
Stock footage has become an indispensable tool in modern filmmaking and content creation. We’ve seen how it empowers creators to tell compelling stories while managing production constraints effectively. From establishing shots to historical archives the versatility of stock footage continues to reshape the way we approach video production.
While there are challenges to consider we believe the benefits far outweigh the limitations. As technology advances and the marketplace expands we can expect stock footage to play an even more significant role in future productions. When used strategically it’s a powerful resource that helps bring creative visions to life without compromising quality or breaking the bank.
Royalty-free stock footage is a valuable tool for creative professionals, especially filmmakers. It provides them with readily-available clips of moments or events that would be otherwise impractical to shoot by themselves. Although called royalty-free, these footages are far from being free from rules. Here is the stock footage guide you need to follow if you are looking to incorporate video clips in your next creative projects.
Read the license agreement. Every stock media agency has their own terms and conditions. You can read it from the license agreement. Every time you purchase a stock footage, take time to read what is included. It will save you from any legal issues in the future. Also, make sure you understand everything. Double check, if you must, so you don’t end up having to edit or pull the file from your project down the road.
Do not share or sell stock footage you purchased. Most stock footages are non-transferable, which you cannot share them to other people – unless you purchase a plan that otherwise allows you to do so. There are also instances when you are allowed to share the footage within an organization. The stock site will grant permission for the videos to be used by other people. Stock footages are also not available for resale. You will be in serious copyright trouble if you resell raw stock footage to another person or company.
Always attribute the footage. If you can, always attribute the footage to the creator. Even if the license agreement does not have any rules, give a little shout out to the providers just to be safe and courteous. A simple “special thanks to the name of creator” is always appreciated.
Balance stock footage with your original work. Stock footage is a good resource to enhance your original work, not to replace it. Combine texts, graphics, and videos to convey a strong message. Use the footage as transitions or accents instead of relying on them for the entire plot of your creative project. By incorporating your original work, your project and ideas will seem more genuine.
Do not overuse a single clip. Of course, there are no legal restrictions that limit your use of one clip. You can use it ten times if you like. But if you are using the same clip a lot of times in the same video, your viewers might start questioning your judgment and genuineness. Some poorly done documentaries have run out of things to show that they keep using the same clip over and over. Do not follow them.
These stock footage guide will help you make use of stock video to its fullest. Put these tips to test and find out how they can greatly enhance your project and keep you from legal troubles.